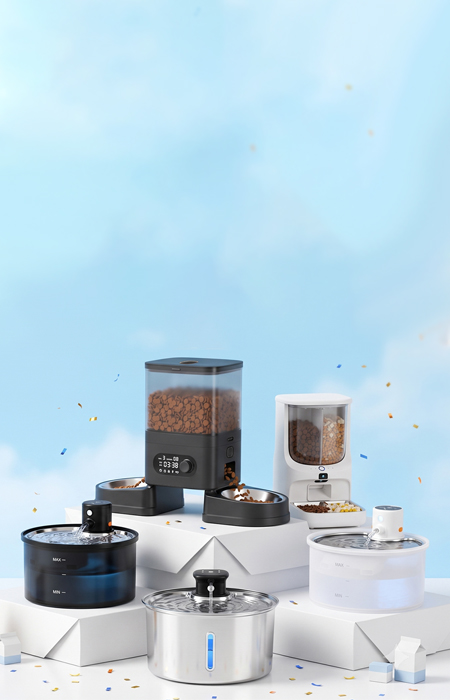
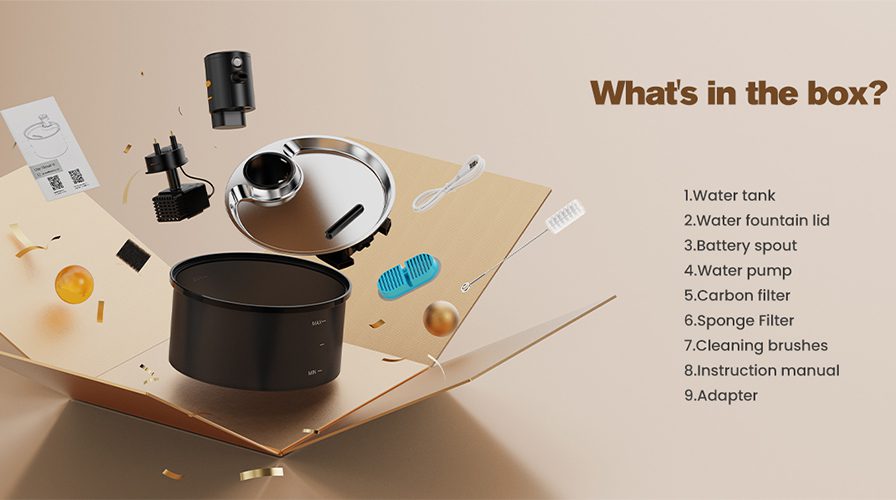
Developing a new cat product — whether it’s a water fountain, automatic feeder, or air purifier — involves a structured process that takes an idea from concept through prototyping, testing, and finally into mass production. Understanding this process helps brands set realistic timelines, manage budgets, and make informed decisions at each stage.
Here’s a practical guide to how cat products move from prototype to production.
The development journey
Phase 1: Concept and requirements (Week 1-2)
Every product starts with a clear definition of what it needs to be:
Functional requirements — What does the product do? Water capacity, operating modes, power source, smart features, etc.
Target market — Where will this product be sold? This affects certifications, voltage requirements, material standards, and packaging.
Price point — What retail price are you targeting? This determines material choices, feature set, and manufacturing complexity.
Volume expectations — How many units do you expect to sell? This affects tooling investment and production planning.
Certification requirements — What standards must the product meet? CE, FCC, RoHS, UKCA, food-contact material compliance, etc.
This phase is often overlooked, but it’s the most important. Clear requirements prevent costly changes later in the process.
Phase 2: Industrial design (Week 2-4)
Industrial design translates requirements into a visual and functional concept:
Concept sketches — Multiple design concepts are explored, considering aesthetics, ergonomics, and manufacturability.
3D rendering — Selected concepts are developed into detailed 3D renderings that visualize the final product.
User experience design — How will the consumer interact with the product? Button placement, indicator lights, disassembly for cleaning, etc.
Material and color selection — Finalizing material choices and color options based on market requirements and manufacturing feasibility.
Phase 3: Engineering and detailed design (Week 4-8)
Engineering translates the design into production-ready specifications:
3D CAD modeling — Detailed digital models of every component, with precise dimensions and tolerances.
Mechanical engineering — Ensuring structural integrity, proper fits, and manufacturability of all components.
Electronics engineering — Designing control boards, sensor circuits, and power management systems (for smart products).
Firmware development — Programming the microcontroller that controls product functions (for smart products).
App development — Creating the mobile app interface (for WiFi-connected products).
This phase produces the detailed specifications needed for tooling and prototyping.
Phase 4: Prototyping (Week 8-12)
Prototypes bring the digital design into physical reality:
Rapid prototyping — 3D printing and CNC machining produce initial prototypes for form and fit evaluation.
Functional prototypes — More refined prototypes that include working electronics, pumps, and other functional components.
User testing — Prototypes are evaluated by target users for usability, aesthetics, and function.
Design iteration — Feedback from testing drives design refinements — adjustments to dimensions, features, materials, or assembly methods.
Multiple prototype iterations are normal. The goal is to resolve all design issues before committing to expensive production tooling.
Phase 5: Tooling and mold fabrication (Week 12-18)
With the design finalized, production tooling is fabricated:
Injection molds — Steel molds for every plastic component, designed for high-volume production. Typical tooling cost: $3,000-$15,000 per mold.
Stamping dies — For stainless steel components (if applicable).
Assembly fixtures — Custom tooling that guides assembly operations.
Testing fixtures — Equipment for quality testing during production.
Tooling is the most expensive and time-consuming phase. It typically takes 25-40 days depending on complexity.
Phase 6: Pre-production samples (Week 18-20)
Before mass production, samples are produced from the production tooling:
T1 samples — First samples from production molds. These may require adjustments.
T2 samples — Corrected samples incorporating feedback from T1 evaluation.
Production samples — Final samples from the production line using production materials and processes.
Sample approval is the gate between development and production. Once approved, mass production begins.
Phase 7: Mass production (Week 20-23)
With samples approved, production proceeds:
Material procurement — Ordering production quantities of all materials and components.
Production run — Running the production line at volume, with quality checks at each station.
Quality control — Multi-stage testing including function testing, AQL inspection, and cosmetic inspection.
Packaging — Producing retail-ready packaging and packing finished products.
Phase 8: Shipping and delivery (Week 23-25)
Quality verification — Final inspection of packaged products.
Container loading — Packing products for ocean freight or air cargo.
Shipping — Transportation to the destination warehouse or distribution center.
Typical timelines
New OEM product with custom tooling: 8-12 weeks from design approval to shipment
ODM product with existing design: 3-5 weeks (no new tooling required)
Private label on existing product: 2-4 weeks (branding and packaging customization only)
Budget considerations
The major cost categories in cat product development:
- Design and engineering: $2,000-$10,000 (depending on complexity)
- Tooling: $5,000-$50,000 (depending on number and complexity of molds)
- Samples: $500-$2,000
- First production run: Variable based on quantity and unit cost
For brands new to product development, ODM solutions offer a lower-risk entry point — using existing designs with custom branding and packaging at much lower upfront cost.
What to look for in a development partner
The right manufacturing partner makes product development significantly easier:
In-house design capabilities. Manufacturers who offer industrial design, engineering, and prototyping under one roof can move faster and communicate more effectively.
Tooling expertise. Quality tooling is the foundation of quality products. Look for manufacturers with in-house mold design and fabrication.
Flexible approach. The development process involves iterations and changes. Choose a partner who accommodates changes without excessive cost or delays.
Transparent communication. Regular updates, clear timelines, and honest assessments of challenges are essential for a successful development process.
The bottom line
Moving from prototype to mass production involves multiple stages, each requiring specific expertise and careful execution. Understanding this process helps brands plan realistically, budget appropriately, and choose the right manufacturing partner.
Contact HS Smart Pet to discuss how our end-to-end development capabilities can bring your cat product from concept to market.